


The Ultimate Guide to High-Performance XLR Audio Interfaces for Studio Setups
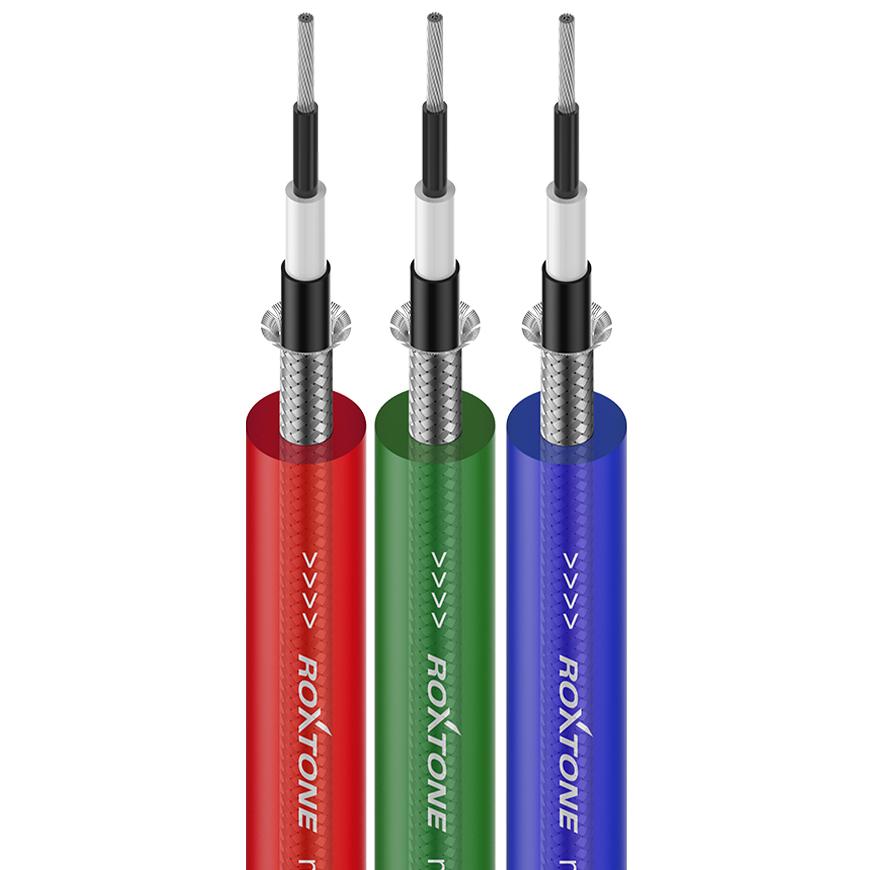
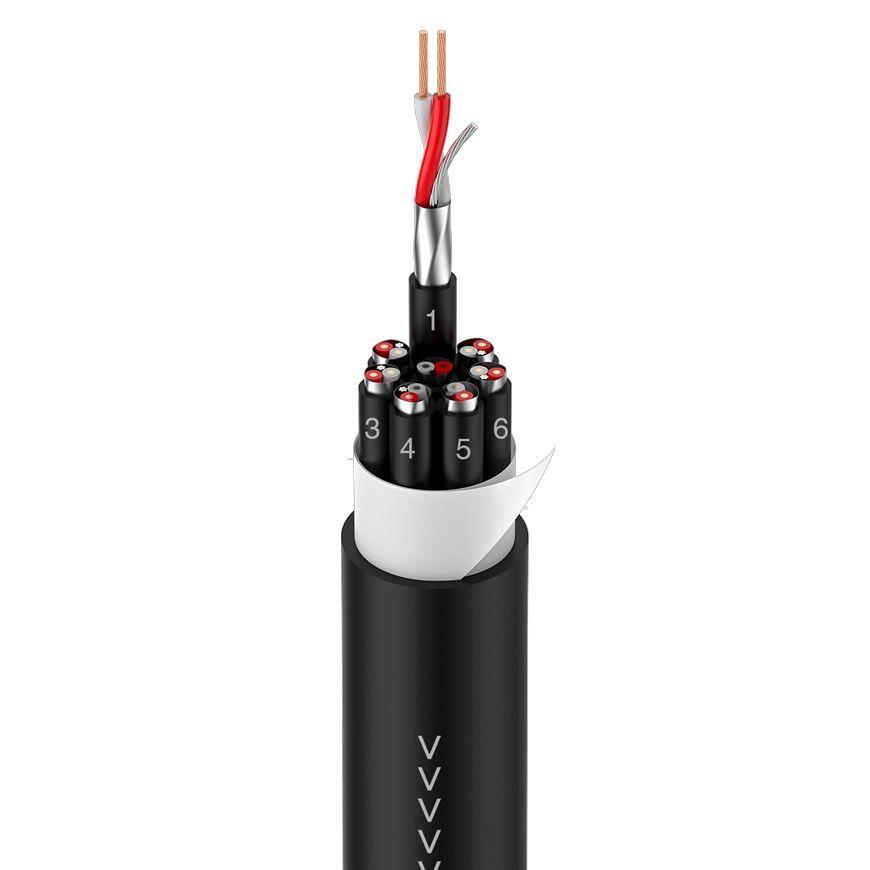
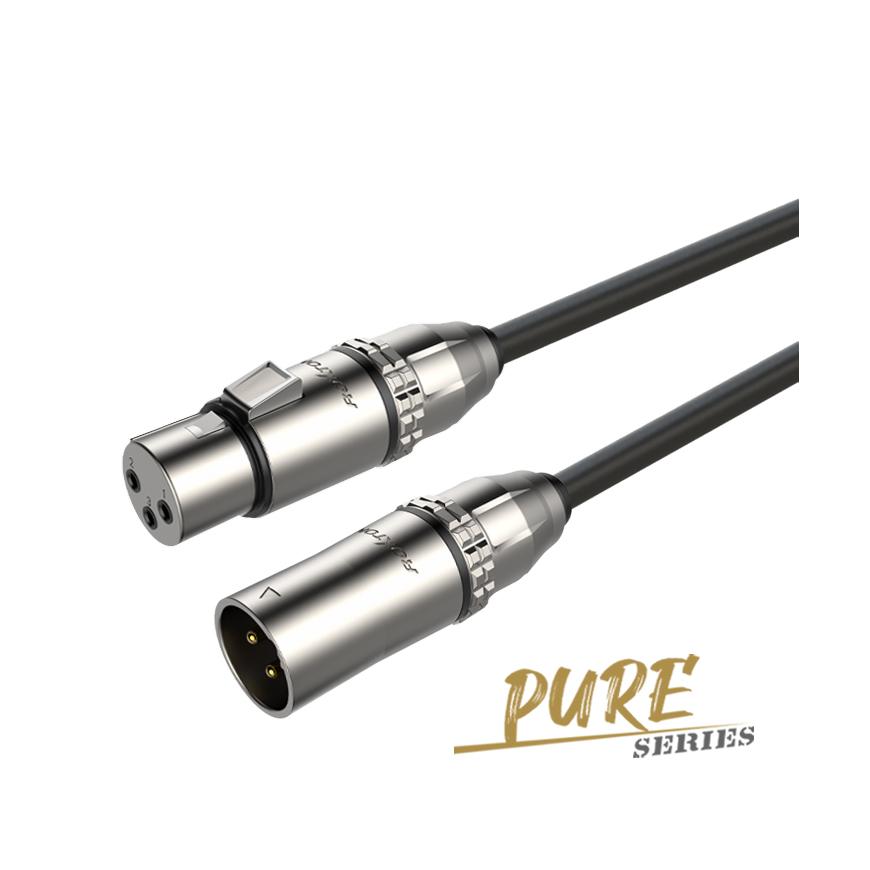
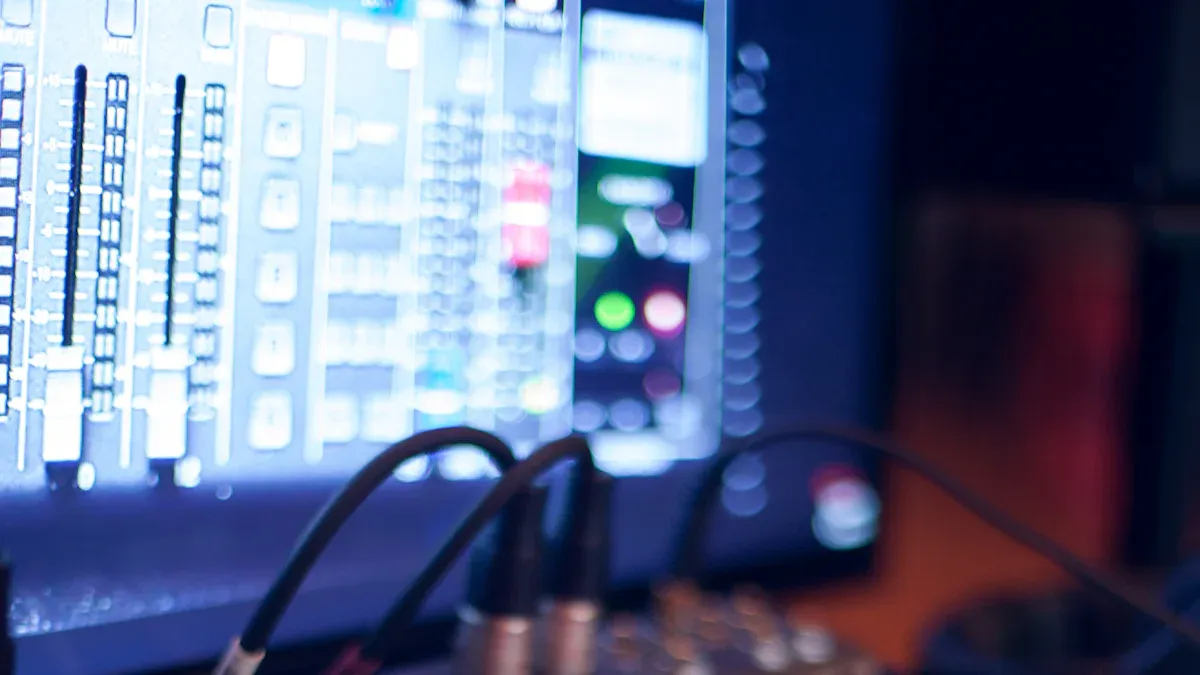
In professional studio setups, achieving superior sound quality depends heavily on the equipment used. XLR audio interfaces play a pivotal role in capturing clean and balanced audio signals, making them indispensable for any serious audio engineer or musician. Their ability to work seamlessly with XLR microphone connectors ensures precise sound reproduction, even in demanding environments. Advanced features like swivel XLR connectors and right angle XLR connectorsoffer enhanced flexibility, allowing users to optimize cable management without compromising on performance. Additionally,rotatable XLR connectors provide convenience when working in tight spaces, making these interfaces adaptable to various studio configurations.
Understanding these tools allows users to unlock their full potential, ensuring every recording session delivers exceptional results.
Key Takeaways
- XLR audio interfaces help record clear sound in studios. They change microphone signals into digital files for recording.
- Choose interfaces with many XLR inputs and outputs. This is useful for bands or podcasts with more equipment.
- Pick interfaces with good preamps. These make signals louder without adding unwanted noise, keeping the sound clear.
- Think about the connection type. USB is easy to use, but Thunderbolt is faster for big projects.
- Update your interface's firmware and software often. This keeps it working well with new recording systems.
Understanding XLR Audio Interfaces
What Are XLR Audio Interfaces?
XLR audio interfacesare devices that serve as the bridge between analog audio equipment and digital recording systems. They are specifically designed to work with Xlr Connectors, which are the industry standard for professional microphones and other audio gear. These interfaces convert analog signals from microphones or instruments into digital data that can be processed by computers or recording software.
Tip: XLR connectors are known for their three-pin design, which ensures balanced audio transmission and minimizes interference.
Modern XLR audio interfaces often include features like built-in preamps, multiple input/output options, and compatibility with various connection types such as USB or Thunderbolt. These features make them indispensable for achieving high-quality recordings in studio setups.
Why Are XLR Audio Interfaces Essential for Studio Setups?
XLR audio interfaces play a crucial role in professional studio environments. They ensure that audio signals are captured with clarity and precision, which is vital for producing high-quality recordings. Their ability to handle balanced audio signals reduces noise and interference, making them ideal for demanding studio applications.
| Feature | Importance |
|---|---|
| Mic preamps | Amplify microphone signals without adding noise for clear recordings. |
| Bit depth and sample rate | Higher values lead to better audio resolution and sound quality. |
| Input types | XLR inputs are essential for connecting microphones in professional setups. |
| Audio output options | Multiple outputs allow for flexible monitoring and mixing capabilities. |
| Connectivity options | Compatibility with various connection types (USB, Thunderbolt, etc.) is crucial for modern setups. |
Studios often rely on XLR audio interfaces for their versatility. These devices support multiple inputs and outputs, enabling seamless integration with microphones, instruments, and monitoring systems. Their robust build quality ensures reliability, even in intensive recording sessions.
Key Benefits of Using XLR Audio Interfaces
XLR audio interfaces offer several advantages that make them a preferred choice for studio setups:
- Superior Audio Quality: High-quality preamps and converters ensure pristine sound reproduction. Models like the Audient iD44 and Universal Audio Apollo x4 exemplify this standard.
- Expandability: Many interfaces allow users to connect additional devices, making them scalable for growing studio needs.
- Durability: Built with professional-grade materials, these interfaces withstand the rigors of daily use.
- Flexibility: Multiple input and output options provide adaptability for various recording scenarios.
Note: The ability to connect multiple devices and maintain consistent performance makes XLR audio interfaces a cornerstone of professional audio production.
By investing in a reliable XLR audio interface, users can elevate their recording quality and streamline their workflow. Brands like ROXTONE offer a range of high-performance options tailored to meet the needs of modern studios.
Choosing the Right XLR Audio Interface
Inputs and Outputs: What to Look For
When selecting an XLR audio interface, the number and type of inputs and outputs play a critical role in determining its suitability for your studio setup. Professional-grade interfaces often feature multiple XLR inputs, allowing users to connect several microphones or instruments simultaneously. This is particularly useful for recording bands or podcasts with multiple participants. Outputs, on the other hand, enable seamless integration with studio monitors, headphones, or external audio processors.
| Interface Type | Signal-to-Noise Ratio (SNR) | Common-Mode Noise Rejection |
|---|---|---|
| Professional Balanced | Up to 135 dB | 50 to 100 dB |
| Consumer Balanced | Up to 125 dB | N/A |
| Unbalanced | Rarely better than 100 dB | N/A |
Professional balanced interfaces offer superior noise rejection and higher SNR, ensuring clean and accurate audio reproduction. For those working in smaller studios, consumer-balanced interfaces may suffice, but unbalanced options should be avoided due to their susceptibility to noise.
Tip: Always consider the scalability of your setup. Opt for an interface with additional inputs and outputs to accommodate future expansion.
Preamp Quality and Audio Performance
The quality of preamps in an XLR audio interface significantly impacts the clarity and fidelity of recordings. High-quality preamps amplify microphone signals without introducing noise or distortion, ensuring pristine audio capture. Key technical criteria to evaluate include gain range, equivalent input noise (EIN), and total harmonic distortion (THD).
| Preamp Feature | Importance |
|---|---|
| Gain Range | Ensures compatibility with various microphones |
| Equivalent Input Noise | Indicates the noise level added by the preamp |
| Total Harmonic Distortion | Measures the distortion introduced by the preamp |
Additional factors like frequency response, signal-to-noise ratio (SNR), and dynamic range also contribute to overall performance. A wide frequency response ensures accurate reproduction of all audio frequencies, while a higher SNR minimizes background noise. Interfaces with a broader dynamic range can capture both soft and loud sounds with exceptional clarity.
- Gain Capabilities: Most interface preamps provide up to 60dB of gain, suitable for standard microphones. However, outboard preamps can deliver up to 80dB, offering greater flexibility.
- Sound Coloration: Interface preamps are typically clean and transparent, while external preamps may add unique tonal characteristics.
- Performance at High Gain: High-quality preamps maintain sound integrity even at extreme gain settings, unlike lower-end models that may introduce noise.
When choosing an interface, prioritize models with robust preamp designs to ensure consistent performance across various recording scenarios.
Connection Types and Compatibility
Connection types determine how an XLR audio interface integrates with your studio equipment. USB interfaces are the most common due to their widespread compatibility with computers and recording software. Thunderbolt and FireWire options, while less common, offer faster data transfer rates, making them ideal for high-resolution audio projects.
- USB interfaces are widely compatible and easy to set up.
- Thunderbolt and FireWire provide faster data transfer for demanding applications.
- Consider the type of port on your computer to ensure compatibility.
- Lower latency is essential for real-time monitoring during recording sessions.
- Expandability options like ADAT or S/PDIF inputs allow for future channel additions.
- Ensure the interface supports emerging software and firmware updates.
Latency is another critical factor to consider. Interfaces with lower latency provide a more seamless recording experience, especially when monitoring in real time. Additionally, expandability options like ADAT or S/PDIF inputs enable users to add more channels as their studio grows.
Note: Always verify that the interface is compatible with your existing equipment and software to avoid connectivity issues.
Budget-Friendly vs. High-End Options
Choosing between budget-friendly and high-end XLR audio interfaces depends on the specific needs of the user. Each category offers distinct advantages and trade-offs, making it essential to evaluate performance, features, and cost-effectiveness.
Performance Differences
High-end XLR audio interfaces deliver superior performance, particularly in areas like latency, preamp quality, and advanced features. Budget-friendly models, while more accessible, may fall short in these aspects. Key differences include:
- Latency: Budget interfaces often exhibit higher latency, which can disrupt real-time recording. High-end models minimize latency, ensuring seamless monitoring.
- Preamps: Premium interfaces, such as the Apollo Twin, provide higher-quality preamps with greater gain. Budget options, like the Focusrite Scarlett 2i2, may struggle to match this level of clarity.
- Features: Advanced functionalities, including onboard DSP (Digital Signal Processing) and direct monitoring, are common in high-end models but rare in budget-friendly alternatives.
For beginners or those with limited studio requirements, budget-friendly interfaces offer a cost-effective entry point. However, professionals seeking top-tier audio quality and advanced capabilities often find high-end models indispensable.
Cost vs. Value
While high-end interfaces demand a higher upfront investment, they often provide better long-term value. Their durability, expandability, and superior sound quality justify the cost for serious audio professionals. Budget-friendly options, on the other hand, cater to hobbyists or those with minimal recording needs, offering a balance between affordability and functionality.
Tip: Assess your current and future studio requirements before deciding. Investing in a high-end interface may save costs in the long run if your needs expand.
Portability and Studio Needs
Portability plays a significant role in selecting an XLR audio interface, especially for users who require flexibility in their recording setups. Compact and lightweight designs cater to mobile recording needs, while larger, feature-rich models suit permanent studio installations.
Portability Metrics
Portable XLR audio interfaces combine essential features with a rugged design, ensuring reliability during travel. The following table highlights key metrics for portable interfaces:
| Feature | Description |
|---|---|
| Type | 1x2 USB Type-C audio interface |
| Resolution | 24-bit/192kHz |
| Input | Single XLR-1/4" combo input |
| Phantom Power | 48V for condenser mics |
| Direct Monitoring | Yes, with mix control |
| Outputs | Stereo RCA line outputs |
| Headphone Output | Yes, with level control |
| MIDI Input/Output | Yes |
| Power Supply | USB Bus Power |
| Design | Rugged, portable design |
These features make portable interfaces ideal for podcasters, traveling musicians, and field recordists. Their compact size and USB-powered operation eliminate the need for external power supplies, enhancing convenience.
Studio Requirements
For fixed studio setups, prioritize interfaces with multiple inputs and outputs, robust preamps, and expandability options. These features accommodate complex recording sessions involving multiple microphones and instruments. High-end models often excel in studio environments, offering advanced connectivity options like Thunderbolt and ADAT for seamless integration with other equipment.
Note: Portability and studio needs are not mutually exclusive. Some interfaces, like the Universal Audio Volt series, strike a balance between compact design and professional-grade features.
By aligning the choice of an XLR audio interface with specific portability and studio requirements, users can optimize their recording experience without compromising on quality or functionality.
Setting Up XLR Audio Interfaces
Initial Setup and Unboxing
Proper setup begins with unboxing the XLR audio interface and ensuring its placement aligns with optimal performance standards. Users often encounter challenges during this stage, such as placement issues, driver installation errors, and MIDI routing complications. Addressing these concerns early prevents operational disruptions.
- Placement issues can lead to overheating. Ensure at least two inches of clearance around the interface to allow proper airflow.
- Driver installation problems, including locating the correct drivers and resolving "interface not found" errors, are common. Unplug the interface and remove old drivers before installing new ones.
- MIDI routing complications may cause feedback loops. Set up direct monitoring before opening the digital audio workstation (DAW).
Tip: Keep the packaging intact until the interface functions correctly. This ensures easy returns or exchanges if necessary.
Connecting to Your Studio Equipment
Connecting the XLR audio interface to studio equipment requires attention to detail. Begin by identifying the input and output ports on the interface. Use XLR cables to connect microphones to the designated inputs. For instruments, use quarter-inch TRS cables. Studio monitors should connect to the interface’s output ports using balanced cables to minimize noise.
Ensure compatibility between the interface and other equipment. Check for phantom power requirements if using condenser microphones. Activate phantom power only after connecting the microphone to avoid damage. For headphones, plug them into the headphone output and adjust the volume level for monitoring.
Note: Always power off the interface before connecting or disconnecting cables to prevent electrical surges.
Configuring Software and Drivers
Configuring software and drivers ensures seamless communication between the XLR audio interface and the computer. Start by downloading the latest drivers from the manufacturer’s website. Install the drivers while the interface remains unplugged. Once installed, connect the interface and verify its recognition by the computer.
Open the DAW and select the interface as the primary audio device. Adjust buffer size and sample rate settings to optimize performance. Lower buffer sizes reduce latency but may strain the computer’s processing power. Higher sample rates improve audio quality but increase file sizes.
Tip: Regularly update drivers and firmware to maintain compatibility with new software versions.
Troubleshooting Common Issues
XLR audio interfaces occasionally encounter technical issues that can disrupt recording sessions. Identifying and resolving these problems quickly ensures uninterrupted performance and optimal sound quality.
Common Technical Issues
Several technical challenges frequently arise with XLR audio interfaces. Understanding these issues helps users implement effective solutions.
| Technical Issue | Description |
|---|---|
| Screen-current-induced coupling | Noise problems caused by current in the screen of cables. |
| Magnetic or electric field pickup | Interference from external magnetic or electric fields affecting audio. |
| Common-impedance coupling (pin 1 problem) | Issues arising from improper grounding and connections in audio equipment. |
Noise-related problems, such as crackling or popping sounds, often stem from these issues. Users may also experience latency, driver conflicts, or buffer size misconfigurations, which can degrade audio quality.
Steps for Effective Troubleshooting
A systematic approach simplifies the troubleshooting process. Users can follow these steps to address common problems:
- Conduct systematic testing to identify noise sources. Disconnect and reconnect equipment one at a time to isolate the issue.
- Inspect cables for damage or improper shielding. Replace faulty cables to eliminate screen-current-induced coupling.
- Use simple tools like a multimeter to check grounding and connections. Proper grounding resolves common-impedance coupling problems.
- Adjust buffer size settings in the audio interface software. Lower buffer sizes reduce latency but may strain the system.
- Update drivers and firmware regularly. Outdated software often causes compatibility issues.
Tip: Place the interface away from devices that emit strong magnetic or electric fields, such as monitors or power supplies, to minimize interference.
By addressing these issues methodically, users can maintain consistent performance. High-quality interfaces, such as those offered by ROXTONE, often include robust designs that minimize susceptibility to these problems, ensuring reliable operation in professional studio environments.
Maintaining XLR Audio Interfaces
Cleaning and Storage Tips
Proper cleaning and storage extend the lifespan of XLR audio interfaces. Dust and debris can accumulate on the exterior and inside the ports, leading to overheating or signal interference. Regularly wipe the surface with a soft, lint-free cloth to remove dust. For deeper cleaning, use compressed air to clear out ports and connectors. Avoid using harsh chemicals, as they may damage the finish or internal components.
When storing the interface, choose a cool, dry location away from direct sunlight and moisture. Use a protective case or cover to shield it from dust and accidental impacts. Proper cable management also prevents unnecessary strain on connectors, reducing the risk of wear over time.
Tip: Label cables and store them separately to avoid tangling and ensure quick setup during future use.
Updating Firmware and Software
Keeping firmware and software up to date ensures optimal performance and compatibility with modern recording systems. Manufacturers frequently release updates to fix bugs, enhance features, and improve stability. Visit the manufacturer’s website periodically to check for the latest firmware versions.
Before updating, back up any important settings or configurations. Follow the instructions provided by the manufacturer to avoid errors during the process. After installation, test the interface to confirm the update was successful. Regular updates not only improve functionality but also extend the device's usability in evolving studio environments.
Preventing Wear and Tear
Preventing wear and tear involves consistent maintenance and careful handling. Inspect input and output connections regularly for signs of damage or loose fittings. Replace worn cables promptly to maintain signal integrity. Ensure the power supply functions correctly to avoid performance inconsistencies.
Calibrate faders and knobs periodically to ensure smooth operation. Avoid over-tightening connectors, as this can damage internal components. Place the interface on a stable surface with adequate ventilation to prevent overheating. These practices help maintain the reliability and longevity of XLR audio interfaces.
Note: High-quality interfaces, such as those from ROXTONE, are designed to withstand rigorous use, but proper care further enhances their durability.
Identifying and Resolving Performance Issues
Performance issues with XLR audio interfaces can disrupt recording sessions and compromise sound quality. Identifying the root cause and implementing effective solutions ensures consistent operation and optimal audio performance.
Common Performance Issues
Several performance challenges frequently occur with XLR audio interfaces. These include:
- Latency Problems: Delays between input and output signals can hinder real-time monitoring.
- Noise Interference: Humming, buzzing, or crackling sounds often result from grounding issues or faulty cables.
- Driver Conflicts: Outdated or incompatible drivers may cause the interface to malfunction.
- Distorted Audio: Overloaded preamps or incorrect gain settings can lead to clipping and distortion.
- Connectivity Failures: Loose connections or damaged ports may interrupt signal flow.
Tip: Regularly inspect cables and connectors to prevent minor issues from escalating into major problems.
Steps to Resolve Issues
A systematic approach simplifies troubleshooting and ensures effective resolution. Follow these steps to address common problems:
- Check Connections: Inspect all cables and ports for damage or improper connections. Replace faulty components immediately.
- Update Drivers and Firmware: Visit the manufacturer’s website to download the latest updates. Install them to resolve compatibility issues.
- Adjust Buffer Size: Modify the buffer size in the interface settings. Lower values reduce latency, while higher values improve stability.
- Test Gain Levels: Set preamp gain to an appropriate level. Avoid excessive gain to prevent distortion.
- Eliminate Noise Sources: Move the interface away from devices that emit electromagnetic interference, such as monitors or power supplies.
Preventive Measures
Preventing performance issues requires proactive maintenance. Use high-quality cables with proper shielding to minimize noise. Keep the interface in a well-ventilated area to prevent overheating. Regularly clean ports and connectors to maintain signal integrity.
Note: High-performance interfaces, like those from ROXTONE, feature robust designs that reduce susceptibility to common issues, ensuring reliable operation in professional environments.
By identifying and resolving performance issues promptly, users can maintain the efficiency and reliability of their XLR audio interfaces, ensuring seamless recording sessions.
Frequently Asked Questions About XLR Audio Interfaces
XLR vs. USB Audio Interfaces: What’s the Difference?
XLR and USB audio interfaces cater to different user needs, making it essential to understand their distinctions.
- XLR Microphones: These are the industry standard for professional recording. They deliver superior audio quality, offer versatility, and allow customization. XLR audio interfaces support multiple microphone connections, making them ideal for studio setups. They also provide upgrade paths, ensuring long-term usability.
- USB Microphones: These prioritize convenience. They are portable, easy to use, and perfect for casual applications like online communication or podcasting. However, they often lack the sound fidelity and expandability of XLR-based systems.
Tip: For professional recording environments, XLR audio interfaces are the preferred choice due to their superior performance and adaptability.
Can XLR Audio Interfaces Be Used for Live Performances?
XLR audio interfaces excel in live performance settings. Their ability to handle balanced audio signals ensures minimal noise interference, even in high-pressure environments. Many models include robust preamps and multiple input/output options, allowing seamless integration with microphones, instruments, and PA systems.
For live performances, durability is crucial. XLR audio interfaces are built with professional-grade materials, ensuring reliability during transport and use. Features like low-latency monitoring and direct outputs further enhance their suitability for live sound applications.
Note: Always test the interface with your live setup beforehand to ensure compatibility and optimal performance.
How to Ensure Compatibility with Microphones
Ensuring compatibility between an XLR audio interface and microphones involves several considerations:
- Connector Type: Verify that the microphone uses an XLR connector. Most professional microphones, including dynamic and condenser types, are compatible.
- Phantom Power: Condenser microphones require phantom power (48V). Check if the interface provides this feature.
- Impedance Matching: Ensure the microphone’s impedance aligns with the interface’s specifications to avoid signal loss.
- Gain Range: Confirm that the interface’s preamps offer sufficient gain for the microphone, especially for low-output models like ribbon microphones.
Tip: Consult the microphone and interface manuals to confirm technical compatibility before purchase.
What to Do If Your Interface Isn’t Recognized
When an XLR audio interface fails to connect or isn’t recognized by a computer, it can disrupt workflows and delay projects. Addressing this issue requires a systematic approach to identify and resolve the underlying problem.
1. Verify Physical Connections
Start by inspecting all cables and ports. Ensure the USB, Thunderbolt, or FireWire cable is securely connected to both the interface and the computer. Check for visible damage on the cables or connectors. If possible, test the interface with a different cable to rule out hardware issues.
Tip: Use high-quality, shielded cables to minimize connection problems and signal interference.
2. Confirm Power Supply
Some interfaces require external power sources. Verify that the power adapter is plugged in and functioning. For USB-powered interfaces, ensure the computer’s USB port provides sufficient power. Avoid using unpowered USB hubs, as they may not deliver adequate energy.
3. Check Driver Installation
Outdated or missing drivers often cause recognition issues. Visit the manufacturer’s website to download and install the latest drivers for the interface. During installation, disconnect the interface to prevent conflicts. Afterward, reconnect it and restart the computer.
4. Adjust System Settings
Open the computer’s audio settings to confirm the interface is selected as the default input and output device. On Windows, navigate to the Sound Control Panel. On macOS, check the Sound Preferences. Ensure the sample rate and bit depth match the interface’s specifications.
5. Test with Another Device
If the interface remains unrecognized, connect it to a different computer. This step helps determine whether the issue lies with the interface or the original system.
Note: High-performance interfaces, like those from ROXTONE, often include diagnostic tools or support resources to assist with troubleshooting.
By following these steps, users can quickly identify and resolve recognition issues, ensuring uninterrupted performance in their studio setups.
XLR audio interfaces remain essential for achieving professional-grade sound in studio setups. Their ability to deliver high-quality audio ensures creators can meet the growing demand for superior content across platforms. The XLR microphone market, projected to grow at a CAGR exceeding 6% by 2025, highlights the increasing reliance on professional audio equipment. Innovations like customizable audio experiences and AI-driven features further enhance user satisfaction, catering to evolving creative needs.
Choosing the right interface empowers users to elevate their recordings and streamline workflows. Brands like ROXTONE provide reliable, high-performance solutions tailored to modern studios. By making informed decisions, creators can unlock the full potential of their audio production.
FAQ
What is the difference between balanced and unbalanced audio signals?
Balanced audio signals use three conductors to reduce noise and interference, making them ideal for professional setups. Unbalanced signals, with only two conductors, are more prone to noise and are better suited for short cable runs in less demanding environments.
Tip: Always use balanced connections for studio setups to ensure clean audio.
How do I choose the right sample rate for recording?
The sample rate determines audio quality. Common rates include 44.1 kHz for music and 48 kHz for video. Higher rates, like 96 kHz, offer better fidelity but increase file size. Choose based on your project’s requirements and storage capacity.
Note: Most professional interfaces, like those from ROXTONE, support multiple sample rates.
Can I use an XLR audio interface with a laptop?
Yes, most XLR audio interfaces connect to laptops via USB, Thunderbolt, or FireWire. Ensure the interface is compatible with your laptop’s operating system and ports. Install the necessary drivers for seamless operation.
Tip: Check your laptop’s power output if using a USB-powered interface.
What is phantom power, and when is it needed?
Phantom power (48V) supplies electricity to condenser microphones through XLR cables. It is essential for these microphones to function. Dynamic microphones do not require phantom power.
Warning: Never activate phantom power when connecting ribbon microphones, as it may damage them.
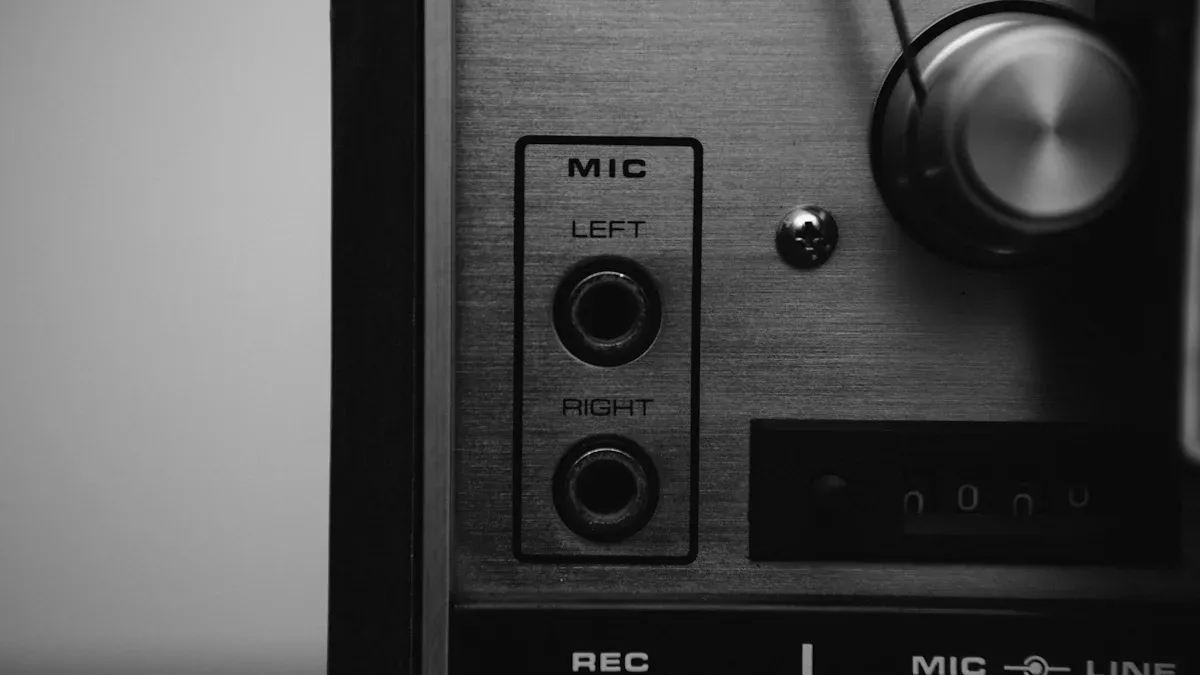
How many inputs and outputs do I need in an audio interface?
The number depends on your recording needs. Solo artists may need 1-2 inputs, while bands or podcasters may require 4 or more. Outputs should match your monitoring setup, including headphones and studio monitors.
Tip: Plan for future expansion when selecting an interface.